Peanut Butter Kiss Cookies – A Mission Favorite!
When I served my mission in New Bloomfield, Pennsylvania, I quickly learned the value of simple, reliable recipes. With limited time, a tight budget, and a love for homemade treats, I needed something quick, delicious, and easy to share—and that’s when these flourless peanut butter kiss cookies became my go-to.
We always had fresh eggs from generous neighbors, peanut butter was cheap, and chocolate kisses came from Skyline Bargains, an Amish-run discount store where we stocked up on slightly damaged or expired candy (they still tasted amazing!). Since these cookies take less than an hour to make, they fit perfectly into our lunch or dinner breaks. My companions and I baked batch after batch, handing them out to as many people as we could—while, of course, saving a few for ourselves.
Best of all? They only require three ingredients, they’re naturally gluten-free, and they’re honestly better than any flour-based version I’ve ever tried!
Why You’ll Love This Recipe
✔️ Only 4 Ingredients – No flour, no baking soda, just the essentials.
✔️ Gluten-Free – Perfect for anyone avoiding gluten without sacrificing flavor.
✔️ Soft & Chewy – These cookies stay perfectly tender every time.
✔️ Quick & Easy – Made in under an hour, so they’re great for last-minute treats.
Ready to Bake? Here is The Recipe!
Ingredients:
- 1 cup creamy peanut butter
- 1 cup granulated sugar (plus extra for rolling)
- 1 large egg
- 24-30 chocolate kisses, unwrapped
Instructions:
- Preheat & Prep: Preheat your oven to 350°F (175°C). Line a baking sheet with parchment paper.
- Mix Ingredients: In a bowl, stir together peanut butter, sugar, and egg until smooth.
- Shape & Roll: Scoop tablespoon-sized dough balls, roll them in extra sugar, and place them 2 inches apart on the baking sheet.
- Bake: Bake for 8-10 minutes, until the edges are set but the centers remain soft.
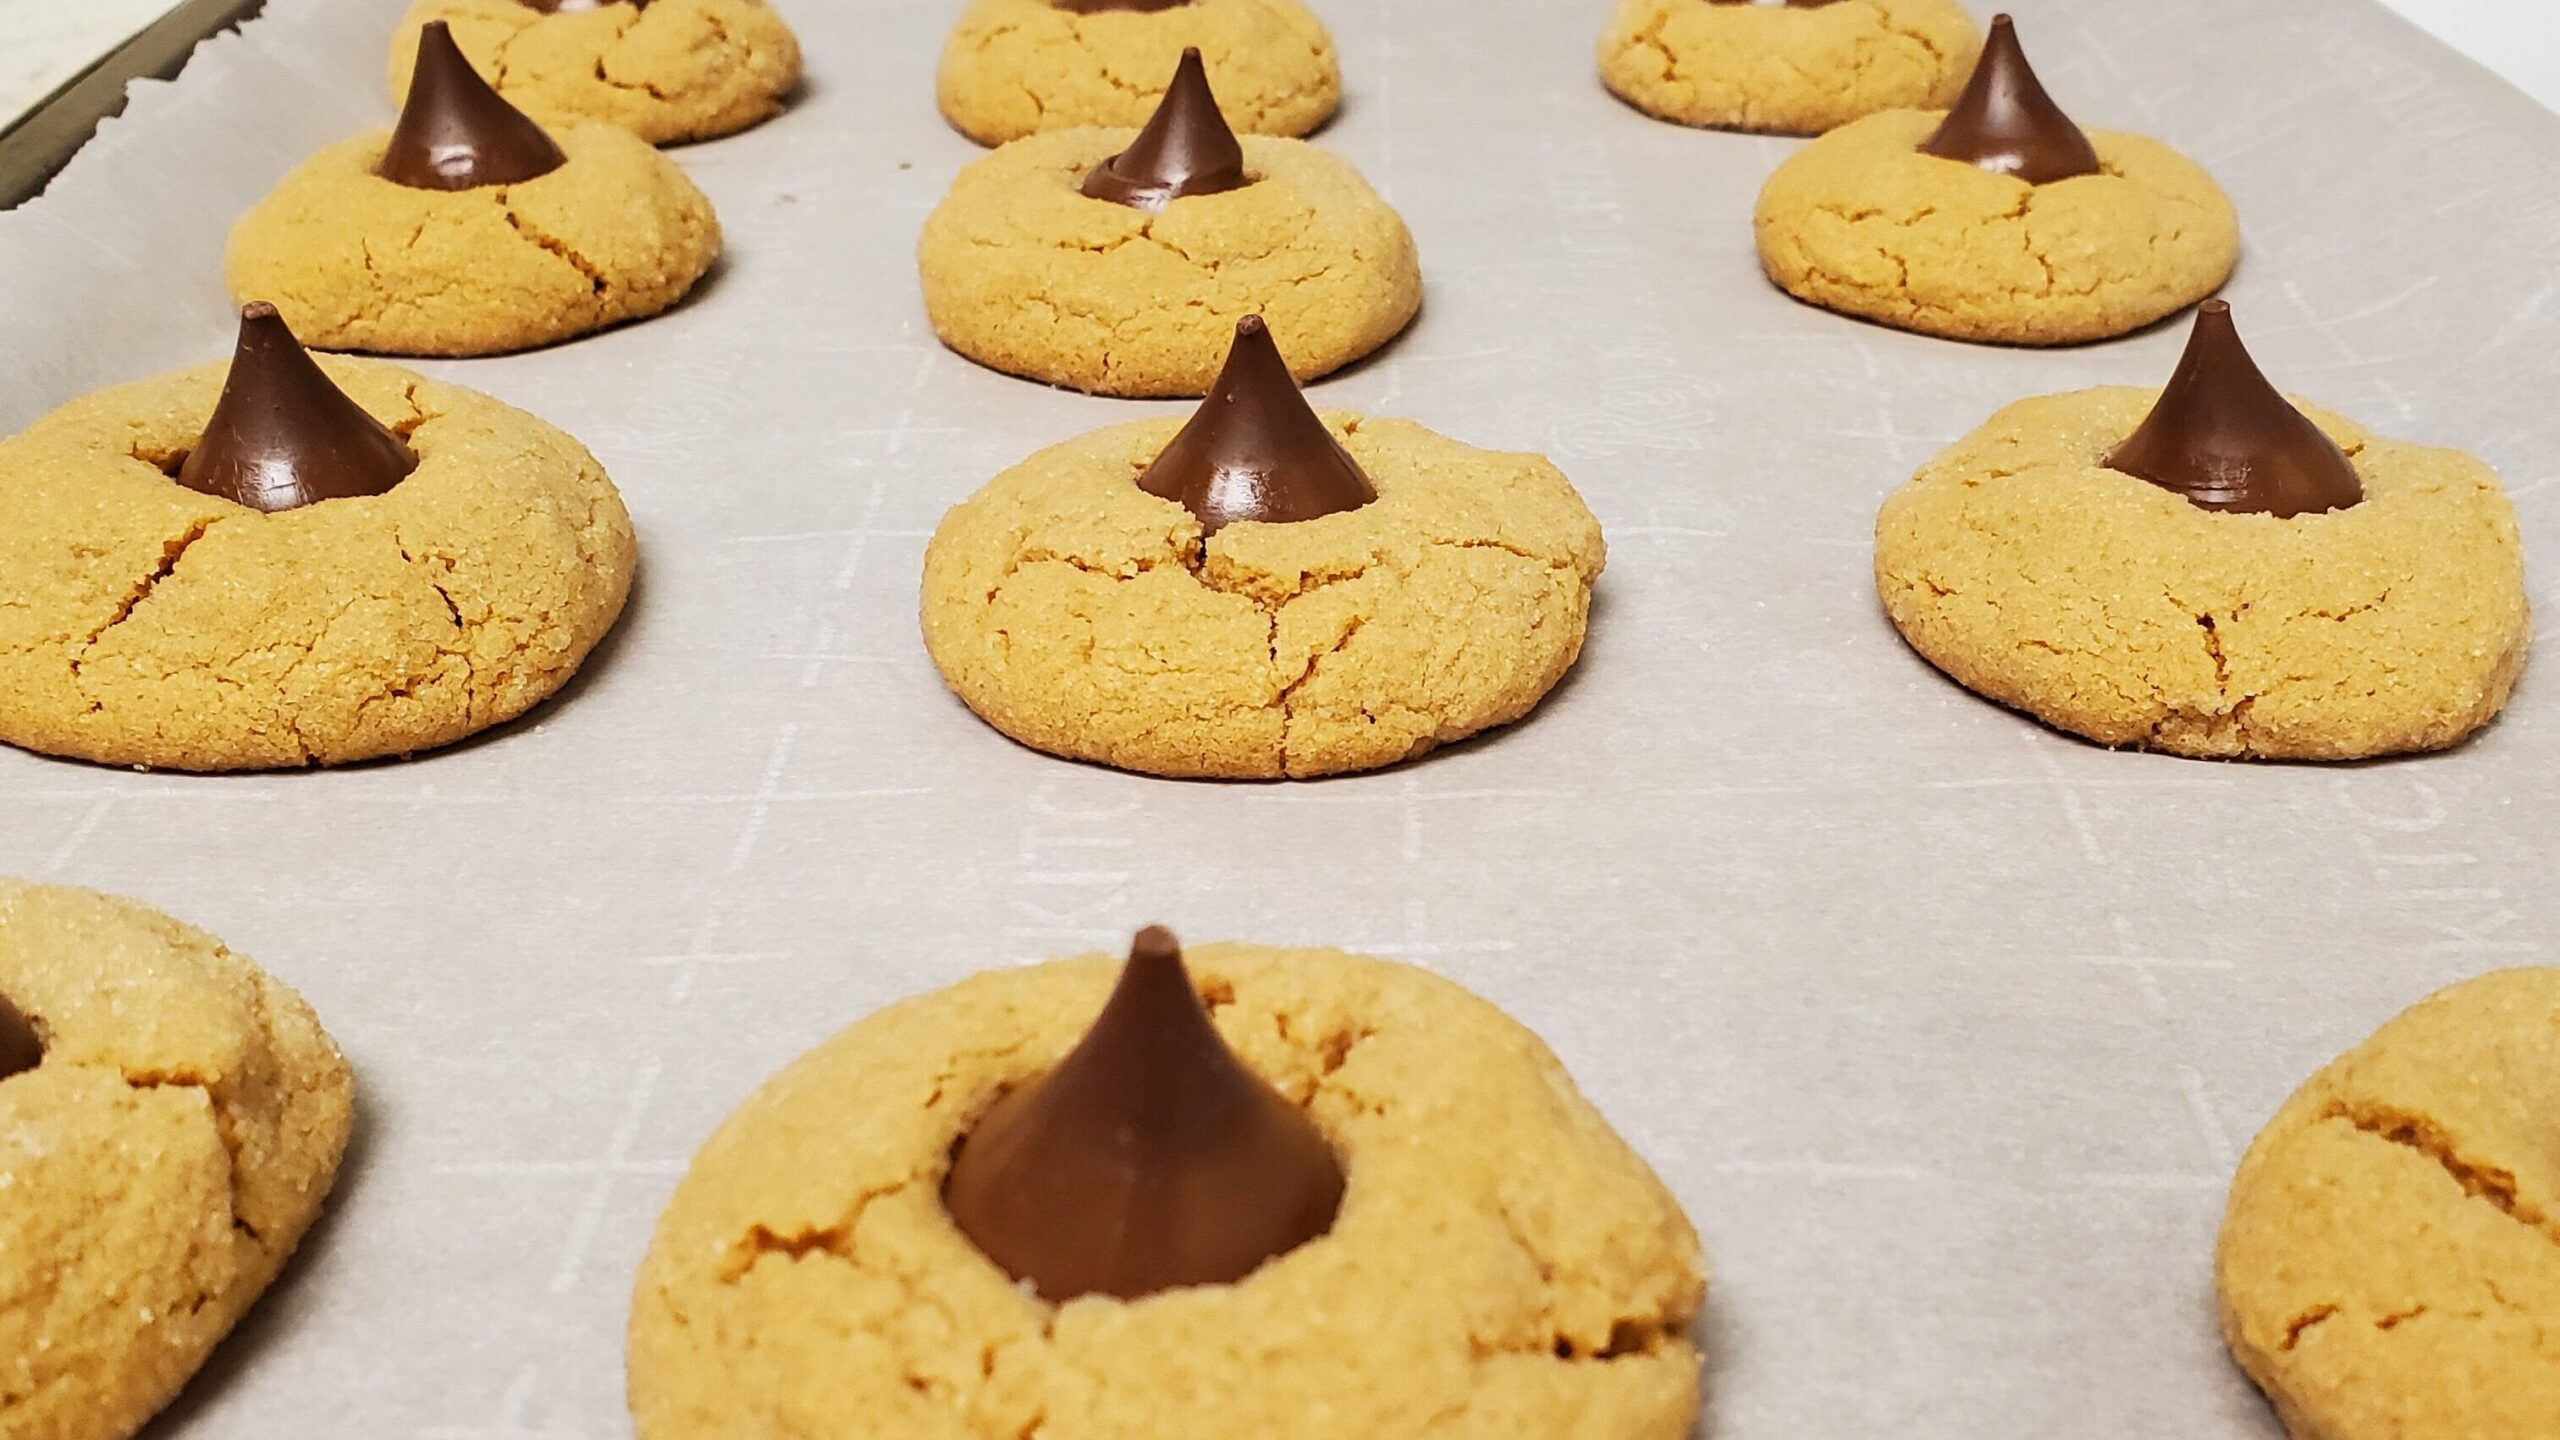
- Add the Kiss: Immediately press a chocolate kiss into each cookie while warm. The cookies will slightly crack around the edges—this is normal!
- Cool & Enjoy: Let cookies cool on the baking sheet for 5 minutes before transferring them to a wire rack.
A Sweet Mission Memory
Even now, these cookies bring back some of my favorite mission memories. They remind me of the kindness of strangers, the joy of baking with my companions, and the simple pleasure of sharing a homemade treat with someone who needed a little extra love that day.
If you’re looking for an easy, crowd-pleasing cookie, this is the one to try. Trust me—you won’t even miss the flour!
Leave a Reply